Do you want to propagate geraniums in your home for free? Here’s how! It may seem difficult, but just follow a few simple steps to start with a small plant and then fill the whole house with color. You’ll need a few materials that are easy to find, and you can see the rest of the process in our video!
Do you have geraniums in your home but would like to take care of them in a more natural and effective way to literally fill your balcony? Here’s how! Maybe until today you thought that the only solution was to buy a new seedling and yet, starting from the one you already have at home, you can have many more! The infallible and totally natural tricks to fertilize and multiply them for free!
Fertilizer to make yourself
Ingredients:
- 3 drops of castor oil
- 1/2 tablespoon hydrogen peroxide
- 1 liter of water
Preparation:
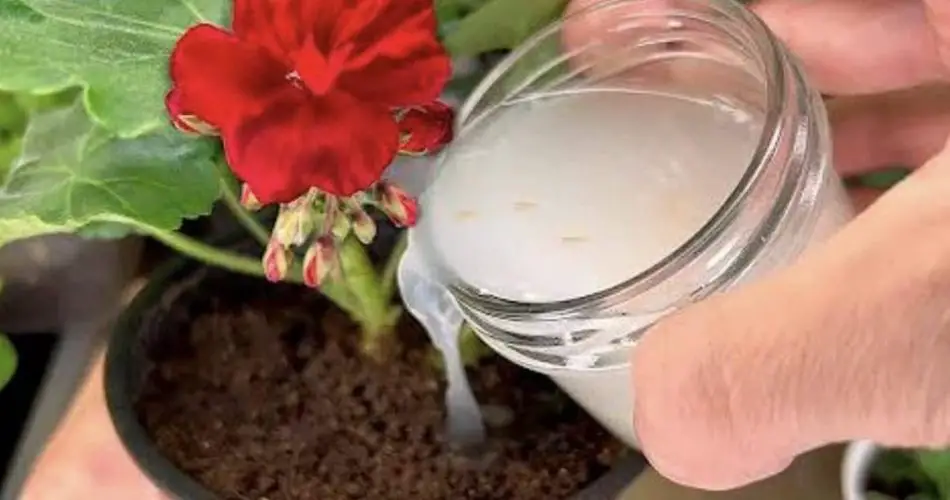
- We dilute all the ingredients together and then use the mixture obtained directly on the soil to fertilize. Our geraniums will immediately become more lush!
And to spread it?
Materials:
- charcoal
- geranium cutting
- Glass to be recycled
- wire with cord
- Universal Floor
- Perlite
- Old jar of jam
Preparation:
- Here’s the trick to freely propagate your geraniums! Start with a cutting and, with the help of well-disinfected scissors, remove the leaves from the cutting, leaving only the last ones on top.
- Now we prepare a bowl that has crumbled activated carbon and immerse the living part of the cutting. This will help as a rooting hormone of the plant. Now let’s prepare the jar. Let’s take an old jar of jam and fill it halfway with water. Then we take a paper cup to recycle and prick it at the bottom.
- At this point we will insert a thread that should be well knotted and stopped so that the longest part remains outside the glass. Now we will fill it with a mixture of soil and perlite. Only at the end can we put the cutting in the glass and then the glass in the glass so that the string touches the water.
- We wait a few weeks and our cutting will be rooted, it will only take 20 days until we can bury it in its new pot!
Show Comments