Italian cuisine often features chili peppers as a key ingredient, infusing both spicy and sweet notes into many savory dishes. To ensure you always have them on hand, here’s a simple guide to growing chili peppers indoors, eliminating the need for a garden.
Chili peppers aren’t just culinary delights; they boast numerous health benefits, including metabolism stimulation and a thermogenic effect that aids in fat burning.
Growing Chili Peppers in Containers
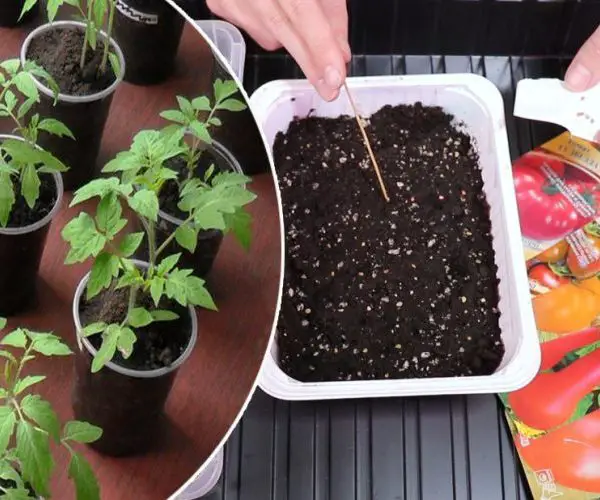
- Seed Preparation: Start by extracting seeds from a chili pepper. Rinse them thoroughly and let them dry under the sun for a couple of days.
- Pot Preparation: Use any container, even repurposed yogurt pots, and fill them with soil. Plant 4-5 chili seeds in each pot, burying them about 1 centimeter deep.
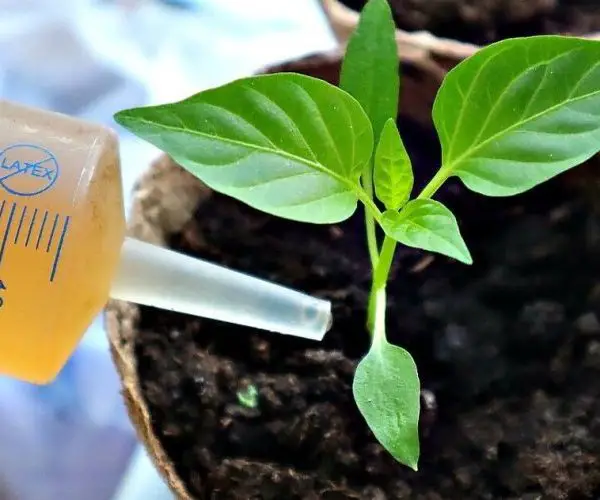
- Watering: Hydrate the plants every three days, taking care not to overwater. The pots should be placed near a sunny window, as the seedlings need direct sunlight.
- Seedling Growth: In 8-12 weeks, your seedlings will have developed. When they reach a height of 5-10 centimeters, it’s time to move them to larger pots.
- Transplanting: Use pots filled with vegetable soil, spacing each plant about 10 centimeters apart. Choose a warm, sunny spot in your home for the pots.
- Maturation and Harvesting: Once the plant reaches about 40-50 centimeters, it will start producing fruit. Expect to harvest chili peppers 3-4 times a year.
By following these steps, you can easily grow chili peppers indoors, ensuring a steady supply for adding that special zing and spice to your dishes.
Show Comments