Reviving Orchids Without Roots: A Comprehensive Guide

Rootless orchids can be a cause for concern, but fear not – we have a nursery-approved method that will breathe life back into your beloved plant. Orchids, known for their resilience and adaptability, make for excellent indoor plants, even for those with less-than-green thumbs. With a few straightforward tips, you can ensure your orchid blooms consistently throughout the year with minimal effort, focusing on key factors like light exposure, watering, and the use of natural fertilizers.
The right positioning is crucial – place your orchid in a well-lit spot that avoids direct sunlight and is shielded from frequent drafts caused by open windows. When it comes to watering, maintain a delicate balance, allowing the soil to stay moist but not overly saturated. Employing natural fertilizers can provide essential nutrients for optimal growth.
For those seeking to revive an orchid without roots, worry not; the following steps, endorsed by nurseries, will guide you through the process, ensuring your orchid thrives once more.

Reviving Orchids Without Roots: Step-by-Step Guide
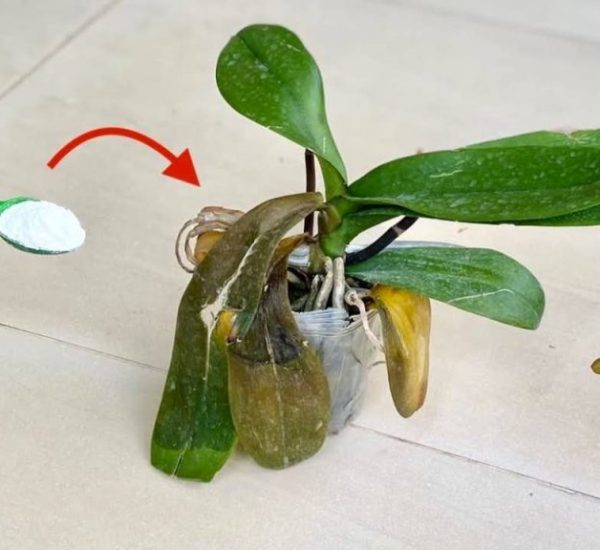
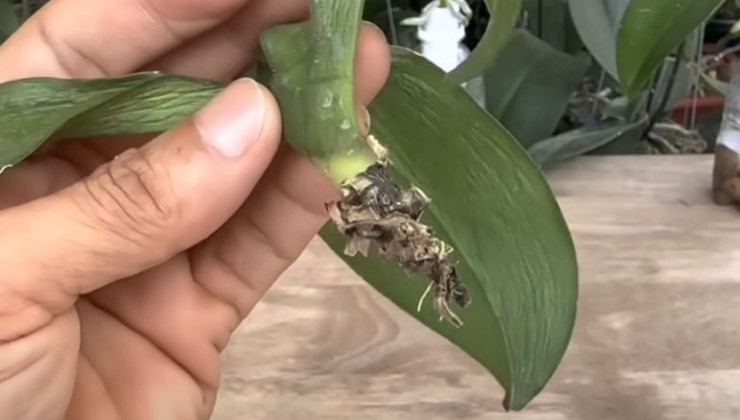
Assess and Trim Roots: Begin by examining the orchid’s roots. Remove any completely black roots, ensuring that the remaining roots exhibit a healthy green-to-gray color. Clean the base of the plant meticulously, using scissors if needed.
Garlic Treatment: Harness the antibacterial properties of garlic by crushing a clove and infusing it in half a liter of water. Filter the garlic water to eliminate residues, then apply it to the orchid’s leaves using a wet cotton pad. Submerge the orchid’s base in garlic water for approximately 30 minutes.
Prepare Potting Medium: Soak clay seeds in the remaining garlic water, which will later be added to the pot. Place a soft, absorbent cloth, such as gauze, over the clay seeds.
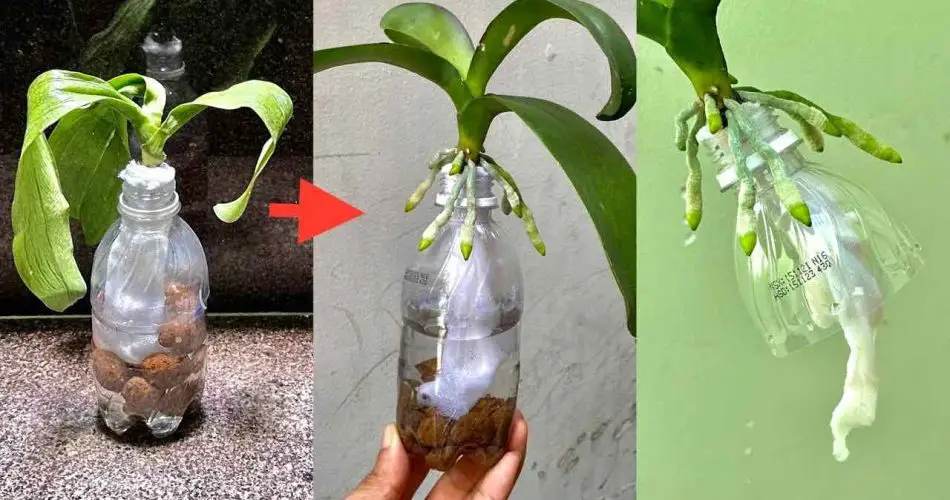
Create Watering System: Cut a bottle into two parts – approximately 5 centimeters for the neck and 10 centimeters for the bottom. Wrap gauze around the orchid’s base, inserting it into the bottle’s neck. Fill the bottle’s bottom with terracotta seeds and clean water. Seal the bottle, creating a self-watering system that keeps the plant’s base consistently moist.
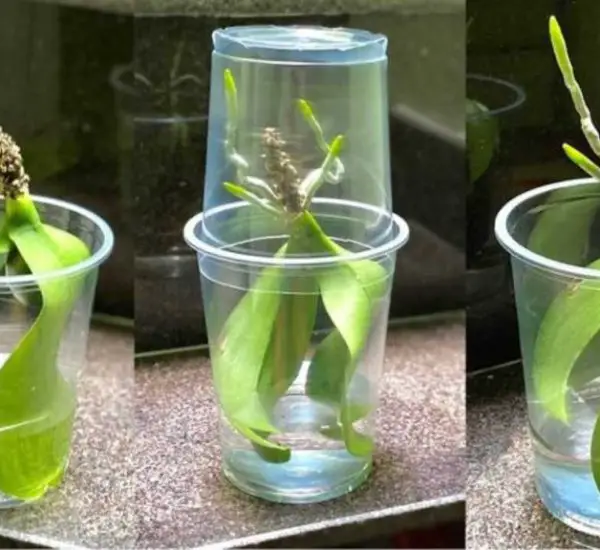
Placement and Maintenance: Position the bottled orchid in a cool location for two weeks, spraying the leaves every two days. Monitor water cleanliness and levels, changing it when necessary. After two months, as the roots reach 6 to 7 centimeters, repot the orchid to witness the revitalized results.

By following this comprehensive guide, even beginners can successfully revive an orchid without roots, witnessing its rejuvenation and continued growth. Embrace this method to ensure your orchids flourish for years to come.